This guide explains how to install, configure, and set up drivers for the CaptainDMA 75T card. Following these steps will ensure a smooth installation and operation.
Please note: This card does not come with custom firmware.
Hardware Installation
Shut down your primary computer (the one you’ll be analyzing) and unplug its power cable.
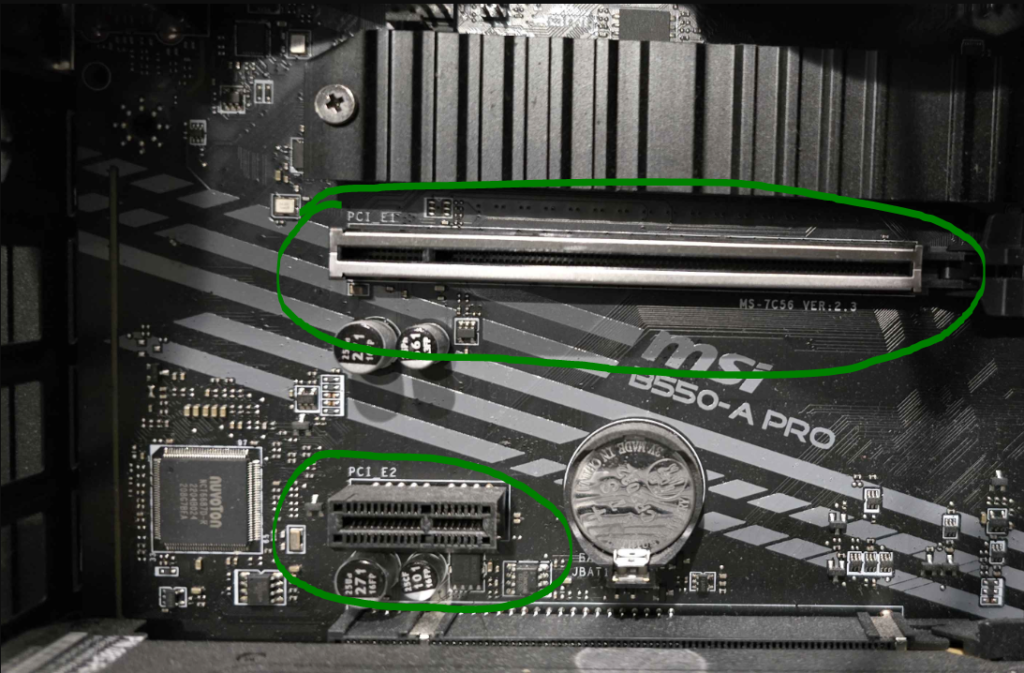
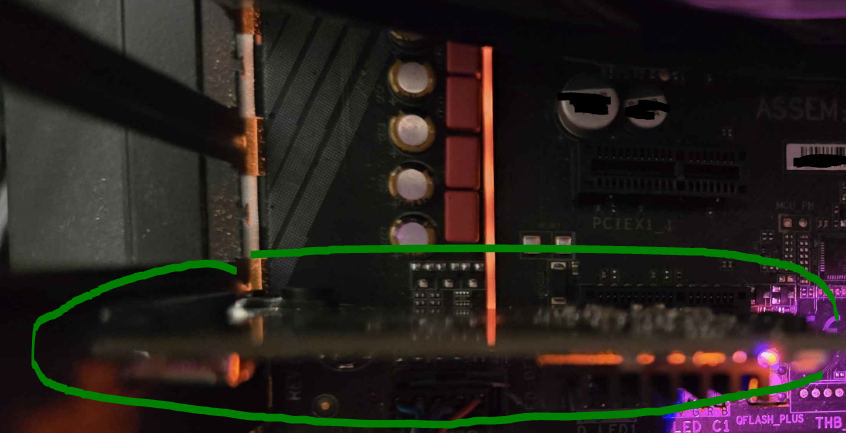
Make sure the device is properly seated into the PCIe slot and the bracket is screwed into the case.
Use the provided USB-C to USB-A cable to connect the DMA card’s DATA port to a USB 3.0 or higher port on your secondary PC.
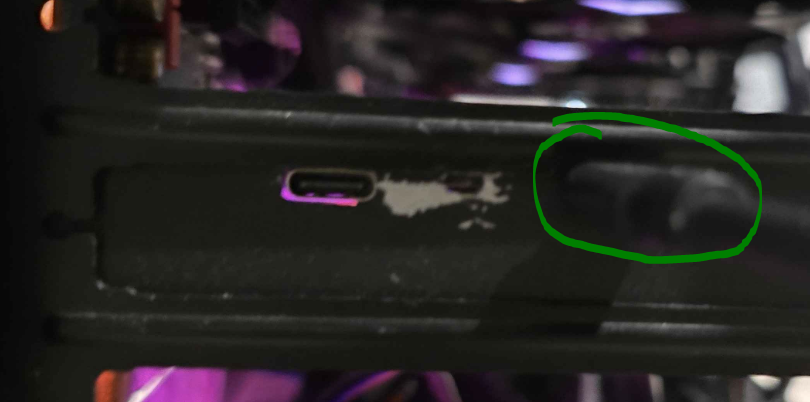
If the DMA card’s indicator lights do not illuminate after powering on your main PC, make sure the switch is in the ON position to activate the card.
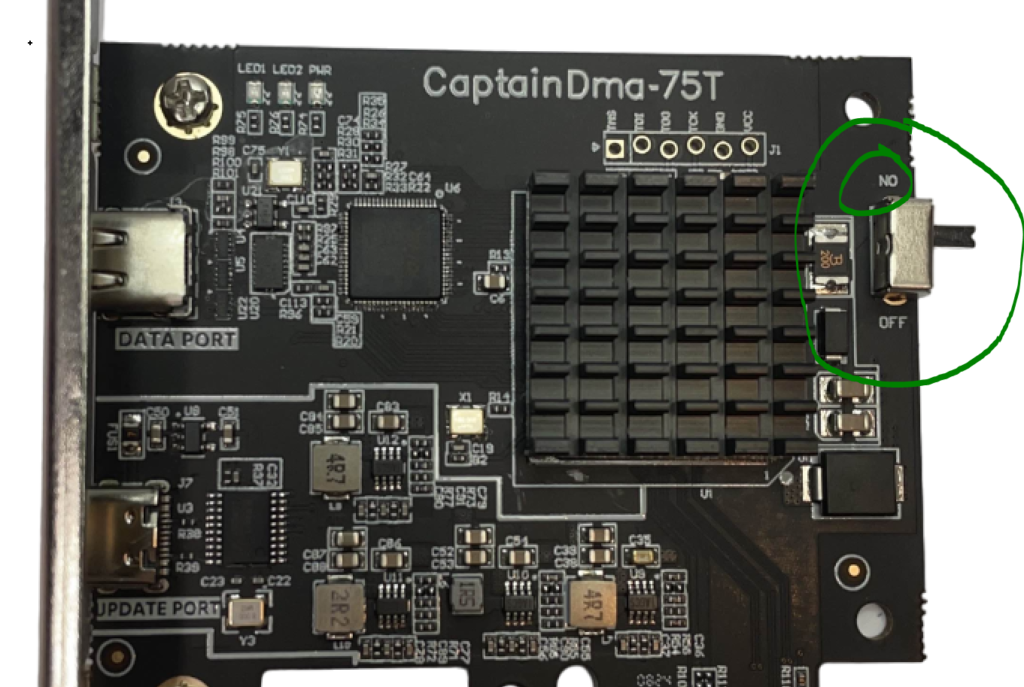
The DMA card will have indication lights when ON and the PC is powered on.
BIOS Configuration
Required BIOS Settings
For AMD Systems:
- Disable IOMMU
- Disable Virtualization & SVM
For Intel Systems:
- Disable Virtualization
- Disable VT-d
Optional Settings (Both Intel & AMD):
- Disable Secure Boot
- Disable Intel Volume Manager (Intel only)
- Disable Quick Start & Safe Start
- Disable NX-Bit/XD-bit (if available)
- Enable CSM (may help in certain scenarios)
- Adjust PCIe slot settings for the CaptainDMA 75T: Set from Auto to Gen4 (if throughput issues) or Gen1 as needed.
Windows Pre-Requisites
We recommend applying similar BIOS and system settings to both the main and secondary PCs.
On the Main PC (Windows 11):
- Disable Core Isolation.
On the Secondary PC:
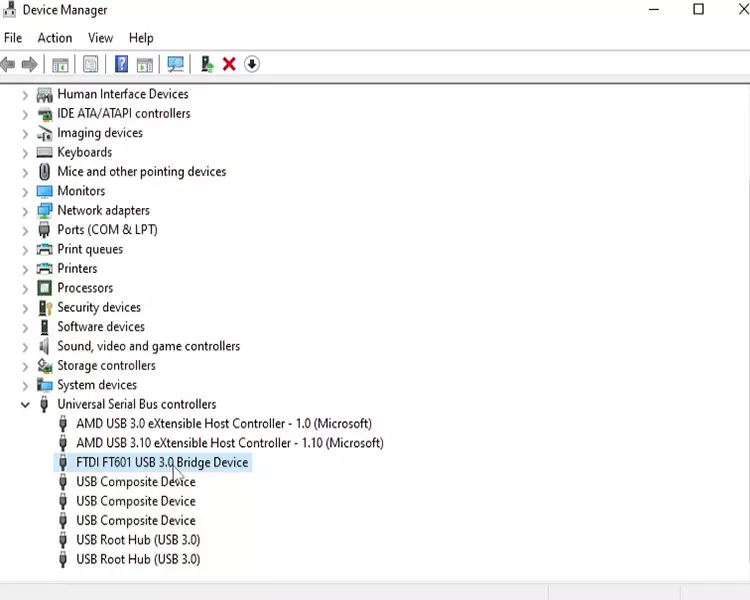
After both systems are powered on and connected (USB-C to USB-A cable from the CaptainDMA 75T’s DATA port to a USB 3.0+ port on the secondary PC), verify that “FTDI FT601 USB 3.0 Bridge Device” is listed under Universal Serial Bus Controllers in Device Manager.
If you do not see this device, check your device manager for driverless devices and install the driver onto it. Also check previous instructions to make sure everything is done correctly.
